Your Cart is Empty
Menu
-
- Shop By Event
- Naturals & Florals
- Crafts
- Vases
- Candles & Lighting
- Décor
- Ideas & Inspiration
- Sale
-
- Help
- FREE SHIPPING ON ORDERS OVER $79
- 1-800-928-6175
- Login
-
United States (USD $)


How to Make a Centerpiece Bouquet
June 27, 2018 2 min read
Description
Tutorial brought to you by Jenny Zukovsky of Fionna Floral
In this DIY project, Jenny will show you how to make a centerpiece bouquet for your event or wedding in a few simple steps. Fionna Floral is a premier full service floral design company specializing in weddings and events in Northern and Central Coast California.
Notes from Jenny: Always over-order on flowers. Prep is 90% of making a bouquet, so it's important to prepare each stem in advance. Try building your bouquet in front of a mirror to see how it looks from different angles; your bouquet should be no taller than 12" to help ensure that you see all of your family and friends around your table. Add floral food to your vase to increase the longevity of your bouquet.
Materials
Instructions
- OPTIONAL: Add some detail to your vase by measuring aspidistra floral ribbon to go around the vase. Cut for it to overlap 1/2 inch.

- Squeeze a line of glue onto the ribbon and press the loose end down securely.

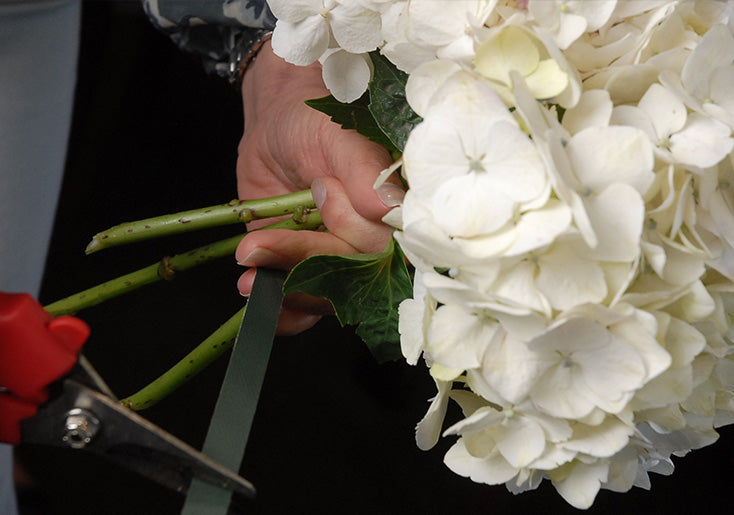
- Select your first bundle of flowers. For our bouquet, we used Garden Rose sprays, Jasmine, Geranium, Hydrangea, and Passion Vine. Measure out waterproof tape to bind the stems, and then cut the tape.

- Secure the base of the flowers together with the tape.

- Clear away extra leaves and thorns. Strip away all foliage that will go into vase to prevent bacteria buildup in water.

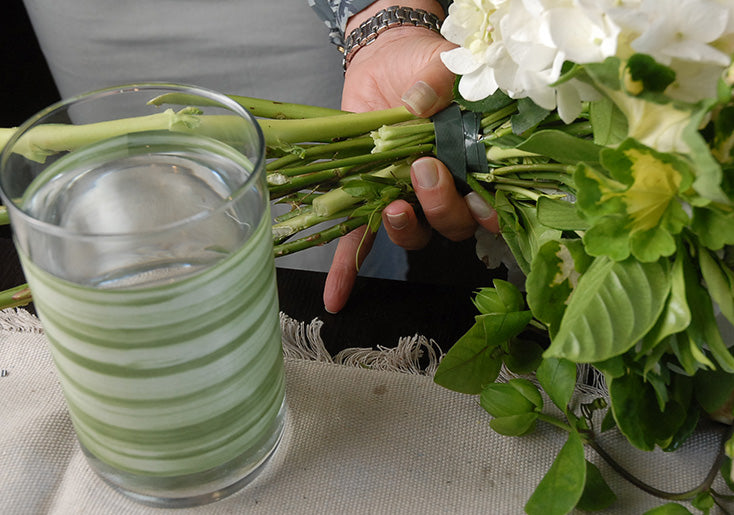
- Cross the stems to create a locking effect.

- Rotate as you build your bouquet to create a full, round ensemble. Be sure to pay attention to the way the stems want to tilt to help you create a natural arrangement. Building in front of a mirror will help you see various angles and sparse sections.

- Find any holes in the bouquet and fill out with greenery.

- As your hand gets tired, wrap the bouquet with waterproof tape.

- Mark where you need to cut the stems, trim the ends, and place your finished bouquet in the vase! (Pictured below is our Mercury Glass Candle Holder Vase).


